-
MVC 패턴 예제안드로이드 학습/Android 기술면접 대비 코드 2023. 12. 14. 15:37
참고 예제 링크: 링크
MVC 패턴을 실습해보았습니다. geeksforgeeks 예제를 살펴보면서 MVC에 패턴에 대해 학습했습니다.
Observer()가 deprecated 되었다고 나와서 PropertyChangeListener 대체 해주었습니다.
Github 주소 : 링크
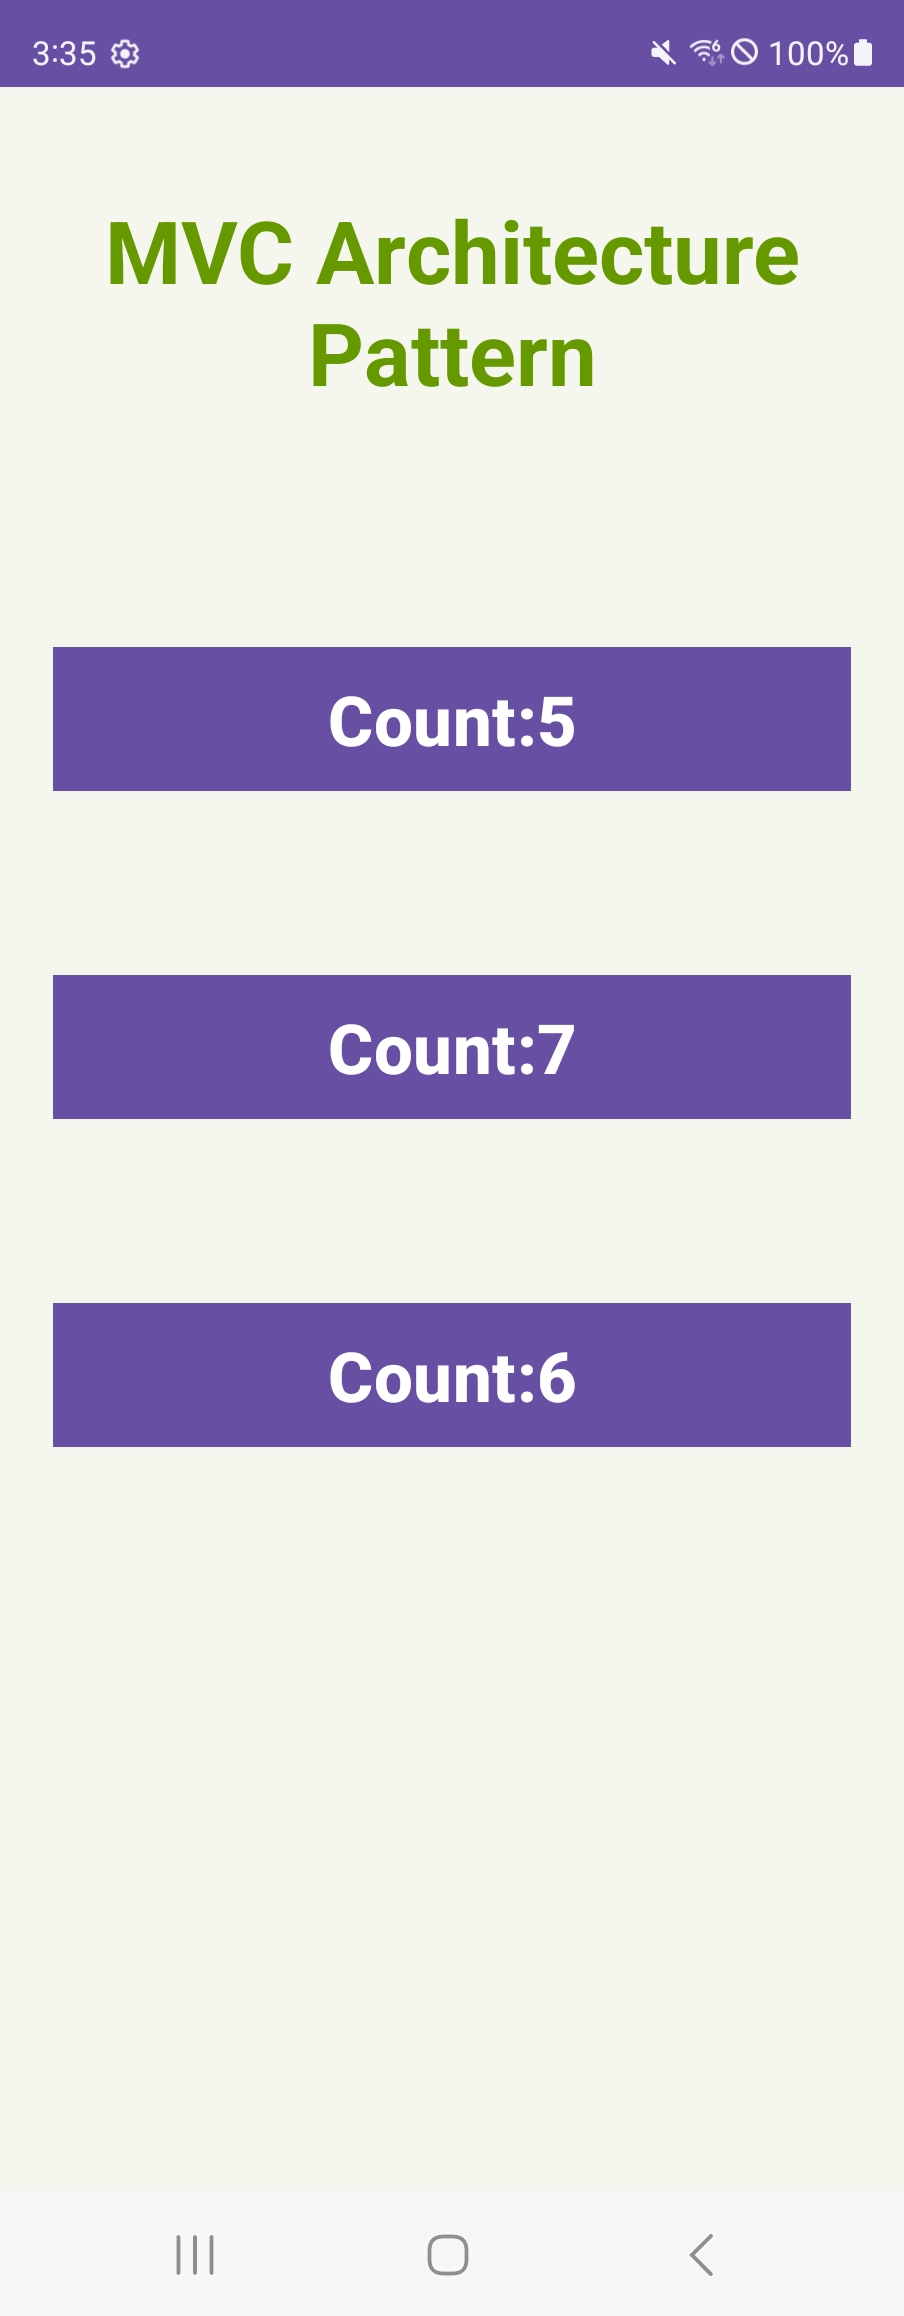
MVC 예제 스크린샷 MainActivity.kt
더보기class MainActivity : AppCompatActivity(), PropertyChangeListener, View.OnClickListener { // creating object of Model class private var myModel: Model? = null // creating object of Button class private var button1: Button? = null private var button2: Button? = null private var button3: Button? = null override fun onCreate(savedInstanceState: Bundle?) { super.onCreate(savedInstanceState) setContentView(R.layout.activity_main) // creating relationship between the observable Model and the aobserver Activity myModel = Model() myModel!!.addPropertyChangeListener(this) // assigning button IDs to the objects button1 = findViewById(R.id.button) button2 = findViewById(R.id.button2) button3 = findViewById(R.id.button3) // transfer the control to Onclick() method when a button is clicked by passing argument "this" button1?.setOnClickListener(this) button2?.setOnClickListener(this) button3?.setOnClickListener(this) } // calling setValueAtIndex() method by passing appropriate arguments for different buttons override fun onClick(v: View) { when (v.id) { R.id.button -> myModel?.setValueAtIndex(0) R.id.button2 -> myModel?.setValueAtIndex(1) R.id.button3 -> myModel?.setValueAtIndex(2) } } override fun propertyChange(evt: PropertyChangeEvent?) { // changing text of the buttons, according to updated values button1!!.text = String.format(getString(R.string.count2, myModel!!.getValueAtIndex(0))) button2!!.text = String.format(getString(R.string.count2, myModel!!.getValueAtIndex(1))) button3!!.text = String.format(getString(R.string.count2, myModel!!.getValueAtIndex(2))) } }Model.kt
더보기class Model : PropertyChangeListener { // declaring a list of integer private val list: MutableList<Int> private val propertyChangeSupport = PropertyChangeSupport(this) // constructor to initialize the list init { // reserving the space for list elements list = ArrayList(3) // adding elements into the list list.add(0) list.add(0) list.add(0) } // defining getter and setter functions function to return appropriate count value at correct index @Throws(IndexOutOfBoundsException::class) fun getValueAtIndex(index: Int): Int { return list[index] } // function to make changes in the activity button's count value when user touch it @Throws(IndexOutOfBoundsException::class) fun setValueAtIndex(index: Int) { val oldValue = list[index] list[index] = oldValue + 1 propertyChangeSupport.firePropertyChange("List", oldValue, list[index]) } // Implementing the PropertyChangeListener interface override fun propertyChange(evt: PropertyChangeEvent?) { // Handle property change events if needed } fun addPropertyChangeListener(listener: PropertyChangeListener) { propertyChangeSupport.addPropertyChangeListener(listener) } fun removePropertyChangeListener(listener: PropertyChangeListener) { propertyChangeSupport.removePropertyChangeListener(listener) } }진행 순서:
1) User의 요청이 Controller에 들어온다.
button1?.setOnClickListener(this)2) Controller는 User의 요청에 따라 Model의 데이터를 업데이트한다.
R.id.button -> myModel?.setValueAtIndex(0)fun setValueAtIndex(index: Int) { val oldValue = list[index] list[index] = oldValue + 1 propertyChangeSupport.firePropertyChange("List", oldValue, list[index]) }3) Controller에서 업데이트된 Model을 나타내줄 View를 선택한다.
4) View는 업데이트된 Model의 데이터를 참조해서 UI를 업데이트 합니다.
    override fun propertyChange(evt: PropertyChangeEvent?) {
        button1!!.text = String.format(getString(R.string.count2, myModel!!.getValueAtIndex(0)))
    	... 생략 ...
    }
위에 코드를 보면 MVC 패턴이 갖고 있는 장단점이 보인다.
장점 :
- 굉장히 직관적이어서 MVC 패턴을 모른다고 해도 이해하기가 쉽다.
- 사용자가 UI에서 action
- Controller가 Model에서 데이터 갱신
- Controller가 Model로 부터 데이터를 받아와 UI 갱신
- 데이터는 Model에서만 처리. Controller는 데이터를 관련한 요청만 한다.
- 역할 분담이 확실해서 깔끔하고 이해하기 쉽다.
단점 :
button1!!.text = String.format(getString(R.string.count2, myModel!!.getValueAtIndex(0)))- View에서 데이터 갱신을 할때 위에처럼 Model을 직접 참조한다. 그렇기 때문에 의존성이 생긴다.
- 위에는 간단한 프로젝트라서 상관 없지만 큰 규모의 프로젝트나 서비스를 계속 진행하면서 규모가 커진다면 코드 길이가 Activity에 너무 많아질수도 있다.
굉장히 직관적이어서 작은 개친 프로젝트 수준이나 간단한 프로토타입 만들때 정도에는 MVC를 사용하는 것도 괜찮을 것 같다.
'안드로이드 학습 > Android 기술면접 대비 코드' 카테고리의 다른 글
Android Background Service 예제 (1) 2023.12.22 Android Foreground Service 예제 (0) 2023.12.22 안드로이드 Bound Service 예제 (0) 2023.07.03 MVVM 패턴 + databinding + Room DB + recyclerview 예제 (0) 2023.06.15 (AAC) Room DB (0) 2023.06.14 - 굉장히 직관적이어서 MVC 패턴을 모른다고 해도 이해하기가 쉽다.